How To Remove a Dealer Decal From a Car

Removing a dealer decal from your car can be a straightforward process if you follow the right steps. Dealer decals, placed by dealerships for advertising purposes, may be unwanted and can be unsightly, detracting from your car’s overall appearance. With a little patience and the right approach, you can effectively remove these stickers without leaving behind residue or causing harm.
In this guide, we’ll explore methods and tips to help you restore your vehicle, ensuring it reflects your personal style rather than the dealership’s branding.
Tools and Materials Needed
Before you start, gather the following tools and materials:
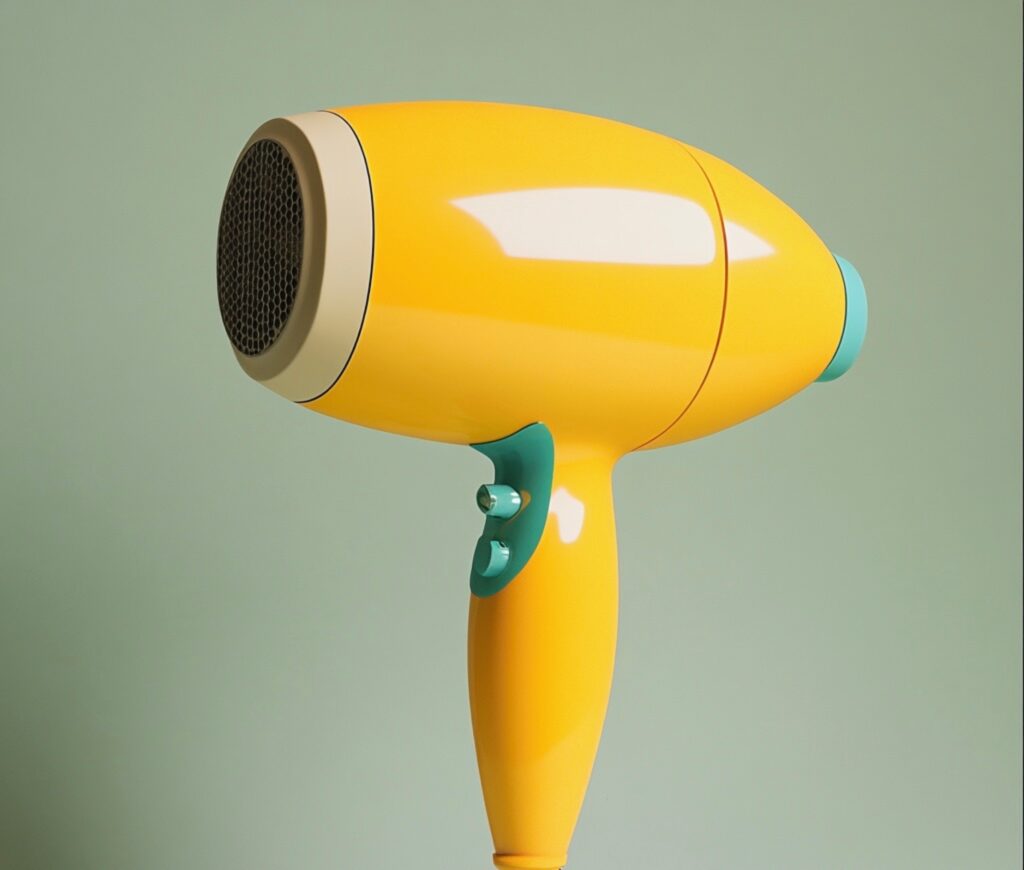
– Hairdryer or heat gun
– Plastic scraper or credit card
– Microfiber cloths
– Car wash soap and water
– Polishing compound (optional)

Step-by-Step Guide
1. Clean the Area
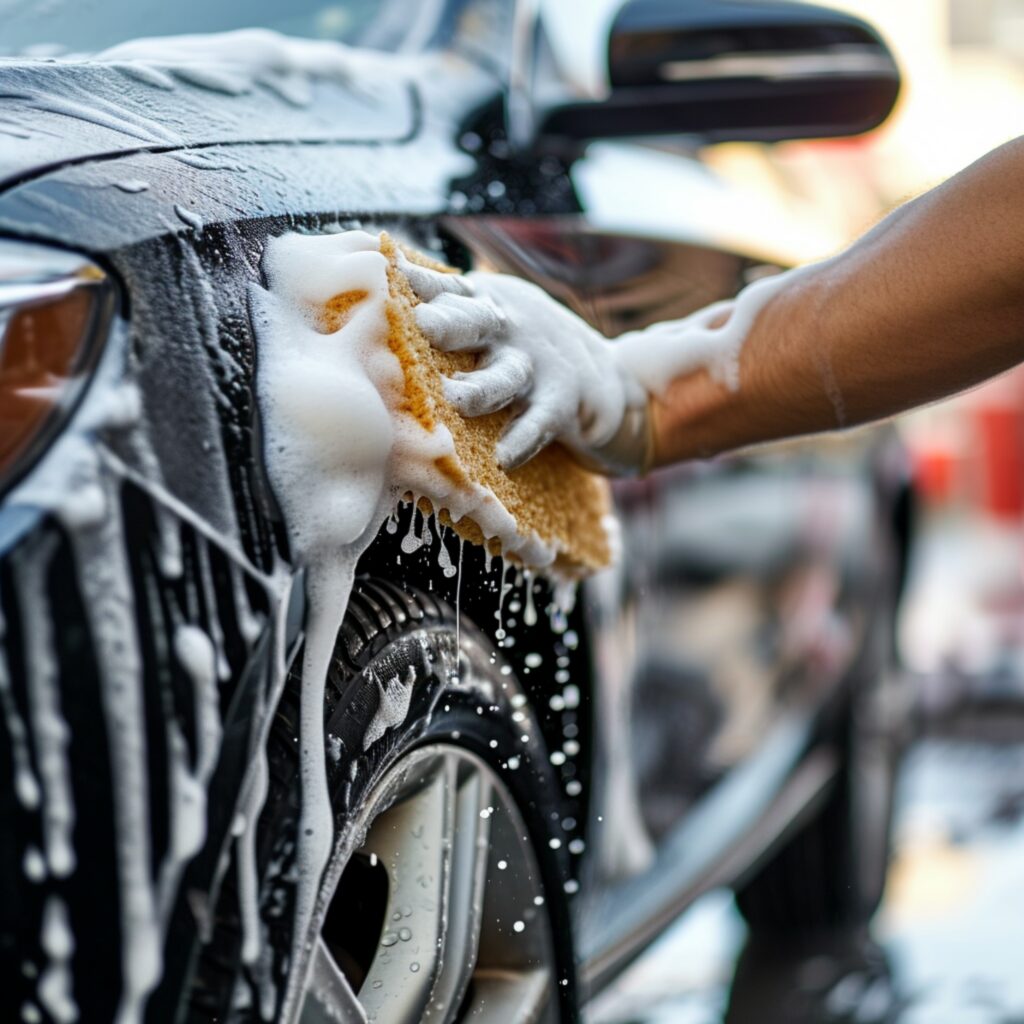
Start by cleaning the area around the decal with car wash soap and water. This will remove any dirt or grime that could scratch the paint during the removal process. Make sure the area is completely dry before proceeding.
2. Heat the Decal
Use a hairdryer or heat gun to warm up the decal. Hold the hairdryer about 6 inches away from the decal and move it back and forth to evenly distribute the heat. The heat will soften the adhesive, making it easier to remove the decal. Be careful not to overheat the area, as excessive heat can damage the paint.
3. Peel Off the Decal
Once the decal is warm, use a plastic scraper or an old credit card to gently lift one corner of the decal. Slowly peel it off, applying more heat if necessary. If the decal breaks apart, continue heating and peeling until it is completely removed.
4. Remove Residual Adhesive
After the decal is removed, there will likely be some adhesive residue left on the car. Apply an adhesive remover to a microfiber cloth and gently rub the area to remove the residue. Follow the instructions on the adhesive remover product for best results.
5. Clean and Polish the Area
Once all the adhesive is removed, clean the area again with soap and water. Dry it thoroughly with a microfiber cloth. If there are any minor scratches or dull spots, you can use a polishing compound to restore the shine. Apply the compound with a clean microfiber cloth and buff the area in a circular motion.

Tips and Warnings
– Test First: Before using any adhesive remover, test it on a small, inconspicuous area of your car to ensure it doesn’t damage the paint.
– Avoid Metal Scrapers: Never use metal scrapers or razor blades on your car’s paint, as they can cause significant damage.
– Work Slowly: Take your time during the removal process to avoid damaging the paint. Patience is key.
– Protect Your Paint: If you’re using a heat gun, be extra cautious. Heat guns can get very hot and may damage the paint if held too close or used for too long.
– Try Dental Floss: For stubborn decals, try dental floss to “saw” through the adhesive.
Alternative Methods
If you don’t have a hairdryer or heat gun, you can try the following methods:
Using Hot Water
Boil some water and pour it over the decal to soften the adhesive. Be careful not to burn yourself. Use a plastic scraper to peel off the decal and follow the same steps to remove the adhesive residue.
Using a Steamer
A clothing steamer can also be used to heat the decal. Hold the steamer close to the decal and let the steam soften the adhesive. Peel off the decal and clean the area as described above.

Conclusion
Removing a dealer decal from your car is a simple process that can be done with common household items. Remember to work slowly to avoid damaging your vehicle’s paint. If you’re unsure about your ability to remove the decal safely, or if you encounter any difficulties, don’t hesitate to consult a professional detailer.
With your dealer decal removed, your car will have a cleaner look that is free of dealership branding. Regular maintenance and care after removal will help ensure your car’s exterior remains in top condition.
